Wednesday 19 September 2012

Fine Motor Fun with Sculpture Making

Master E and I had some time to ourselves whilst Miss M had a long nap the other day. We decided to do some crafting (nothing new for us!) and this is what we came up with.
Threading to make sculptures.

I set Master E up with a container of items to thread with, this included straws (cut into short lengths), coloured pasta (left over from necklace making), packing peanuts and some small beads.
I pushed some pipecleaners into a piece of packaging foam (I'm not really sure what it is called, was left over from buying some kinds of electrical product) and we were ready to get started.

Ready to get started.
Master E had never seen or touched packing peanuts before and was intrigued. He found it a bit tricky to thread them as they didn't have an existing  hole and was keen for me to help.

After a while he soon got the hang of it and realised that if he pushed too hard it would break which he found to be frustrating.

The beads were very popular and forced him to use his pincer grip.


Lots of beads!


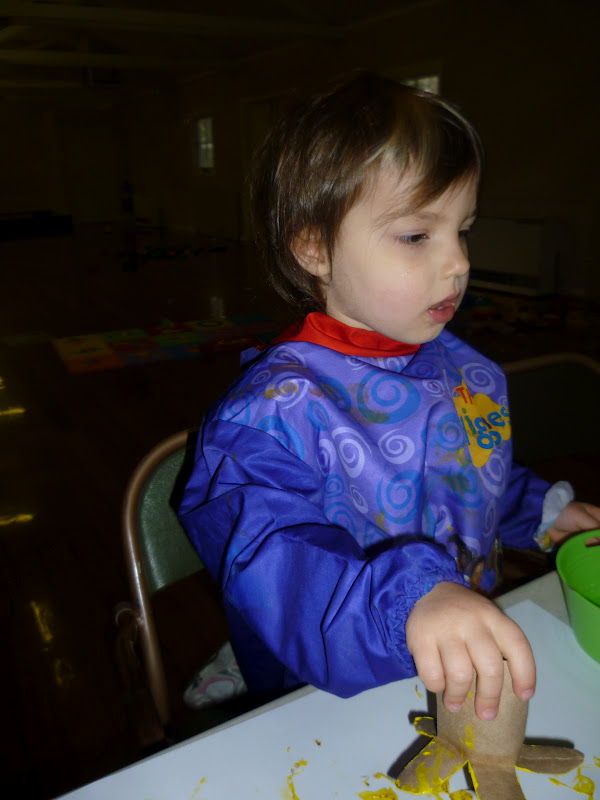
I love the concentrating tongue!

My cheeky boy enjoying crafting with Mummy!

Once a pipecleaner was filled we bent it around and pushed it back into the foam to stop the pieces from falling off.


There was a bit of sorting and organising going on too!

A very proud Master E with his finished Sculpture.


The Sculpture now takes pride of place on Master E's book shelf. He was very excited by this activity and couldn't wait to show Mister Toddler Time when he got home!
We had lots of fun creating the Sculptures all while working on Fine Motor Skills and spending some lovely Mummy and Son time together! It was super easy and you could make one using what ever you having laying around like we did.
Hope you enjoyed!
R x

Thursday 13 September 2012

Print Making with Cardboard Tubes

I had been collecting the cardboard tubes from inside paper towel for some time. Today we used them to do some printing which was very cost effective, lots of fun and made brilliant results. I came across this idea from a great blog Getting Messy With Miss Jessi.


I started by cutting the tubes into halves then cutting slits approx 3cm up the side, folding back the tabs and then cutting a pattern into each tab. We had flowers, stars and suns.


Miss G very busy printing some yellow flowers.


Master E printing some blue flowers.


And as always we end up with some budding artists who can't help but paint their hands!
Cheeky Miss L showing off her handy work!

Miss A printing away.


Some of the finished work.

Another finished piece. 
We didn't really get the hang of using the tubes as stamps and ended up with some lovely abstract art.  This activity was a huge hit and many of our budding artists went back for more paper. Think we will  be doing this one again soon!

Tuesday 11 September 2012

Garden Stakes

Mr Toddler Time is obsessed with growing his own fruit and vegetables, so for Father's Day we decided to make him some Garden Stakes to label all his beloved plants. We had lots of fun creating them and it was lovely to give a gift which was home made!

We started with some regular poster paints, lots of MDF coasters, letters and shapes from Bunnings, dowel, permanent markers, clear spray varnish and hot glue.


All set up and ready for painting!

Painting some of the coaster to be turned into the stakes. There were so many pieces that we ended up painting them in two sittings.

Painting some of the letters for the sign.

The backboard for our 'Dad's Vegies' Sign.

Master E busy painting some flowers to decorate the garden.

All painted and drying.

Some of the coasters once they had dried.

Once the coasters had dried I used a pencil to carefully write the names of the fruits and vegetables.

When I was happy with the way they looked I traced over the pencil with permanent  marker. I the cut dowel into 40cm lengths and used hot glue to attach these to the backs of the signs.

Once the glue was dry I took them all outside and sprayed a couple of coats of clear spray varnish to seal the paint and the MDF. If you don't seal the MDF is will become waterlogged and swell when it gets wet.
Our 'Dad's Vegies' Sign drying.

Once they were all dry we poked them into a cardboard box which I had covered in wrapping paper all ready to give to Mr Toddler Time for Father's Day.

We had lots of fun working on these and Mr Toddler Time loved his present. They would also make great presents for Grandparents for Birthday's and Christmas.

This post has been awhile coming, but we didn't want to ruin our Father's Day Surprise!

Tuesday 4 September 2012

DIY Felt Boards

The weather here has been all over the place lately so I have been looking for ideas on how to keep two toddlers entertained when we can't go outside without relying on too much television.  The last couple of times that we have been to Playgroup they have had Felt Boards out and Miss M has been captivated by them and played for quite some time. So I decided it was about time to make some of our own. They are so simple and you are only limited by your imagination!


I started with some thick cardboard (that I had collected from who knows where!), some felt rectangles and spray adhesive.
I trimmed the felt to fit the size of the cardboard that I had, then very simply followed the directions on the spray adhesive. Which was to spray a coat of adhesive to the cardboard and the felt, leave for a minute and then I gently popped the felt onto the cardboard being careful to smooth out any bumps. 

I allowed them to dry over night and then they were ready to go.


Then I cut out a variety of shapes to be used on the board, hearts, circles, rectangles, clouds, triangles, what ever I could think of  or the children were asking for at the time!
One of Master E's creations, his Robot with all it's buttons and a heart!
We hope you enjoy our ideas and please feel free to share you own.
R x

Crayon Melts

If you are anything like us you will have lots of odds and ends of crayons. I have no idea what happens to them, but we always seem to have a bit of this and a bit of that floating around. I had seen a few posts around on melting down crayons to make crayon 'blocks' and finally found some time to have a go. Here is what I did:


I started by taking any existing paper off the crayons and breaking them into small pieces. I separated them into two  patty pans, one with cool colours and the other with warm.

I popped them into the oven which I had pre heated to 200 Degrees Celsius , and lined a baking tray with foil just incase there were any leaks.

I left them in the oven for approx 15 minutes until the crayons were all liquefied.

I removed them from the oven and allowed them to cool, once cooled I popped them into the freezer to set.

Once set I peeled away the patty pan, (some of the paper stuck slightly to the discs, this will rub off once the crayons are used). And there you have it, a simple way to reuse all those pesky bits of crayon.
I love the way the colours have marbled and can't wait for Miss M and Master E to use them!